

How to Remove a Roller Blind Safely, Step by Step
Autor: Laura Jorge
6 Minute(s) to read / 3.9.2026


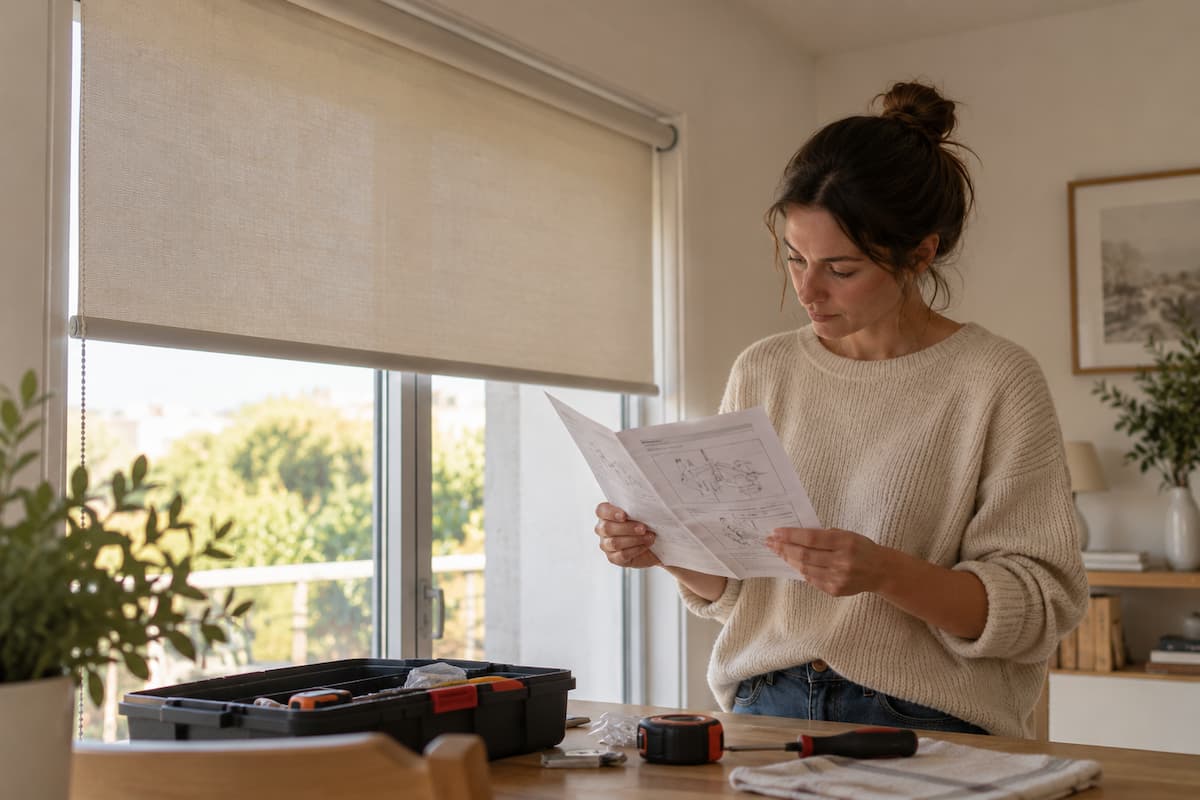
Knowing how to remove a roller blind safely is a practical skill that saves time, money and frustration. Whether you are changing the fabric, redecorating, cleaning the mechanism or replacing your window treatments completely, the process deserves care. Roller blinds look simple, but different systems use different brackets, clutches and fixings, and pulling at the wrong point can damage the blind, the mechanism or the wall itself.
This guide explains how to remove a roller blind step by step: how to identify your system, what tools you may need, how to handle motorised models and when professional help is the better option.
Why You Might Need to Remove a Roller Blind
Homes evolve, and window treatments evolve with them. The most common reasons are:
- Replacing an old blind or changing the fabric
- Deep cleaning, or repairing the chain and operating mechanism
- Painting or renovating a room
- Replacing worn or loose brackets
- Upgrading to a motorised system or electric tracks
- Refreshing the interior design
Roller blinds rarely work alone. In a typical home they sit alongside pleated blinds in a study, mosquito blinds or window screens on a patio door, or sliding panels across a wide opening, while awnings and bioclimatic pergolas handle the sun outside. For removal, what matters is whatever hangs directly in front of the blind: if made to measure curtains or perfect voile curtains are covering it, take them and their track down first so you can reach the roller tube with both hands free. Bespoke blinds often include concealed brackets, specialist fabrics or integrated home automation, so they call for more care than a standard off-the-shelf model.
How to Safely Remove Roller Blinds: Preparation
Identify the system first
Nearly every roller blind consists of a tube, with fabric rolled around it, held by a bracket at each end. What differs is how the tube is secured:
- Standard blinds: visible brackets, operated by a side chain or cord.
- Cassette blinds: the tube and fabric are enclosed in a housing with its own clips.
- Recess-mounted blinds: fitted inside the window reveal for a discreet finish.
- Face-fixed blinds: brackets screwed to the wall or frame above the opening.
- Motorised blinds: battery, rechargeable or hardwired motors.
Identifying the type before touching anything is the single biggest factor in how to remove a roller blind without damage.
Prepare the area
Move furniture and decorative objects away from the window so you can work freely. Position a stable ladder on a level surface if the brackets are high, and never use a chair or anything that can tip. For wide or heavy blinds, ask someone to help you support the tube.
How to Remove a Roller Blind Step by Step
Step 1: Raise the fabric fully
Roll the blind up as far as it comfortably goes. This reduces its size and weight distribution and makes handling easier. Do not force the mechanism past its normal limit. If a motorised blind does not respond, avoid pulling the fabric by hand, as this can damage the motor.
Step 2: How to remove roller blinds from brackets?
Inspect both ends of the tube and look closely at how it is held. You may find spring-loaded pins, push-release catches, clips, locking tabs, slide-in brackets, cassette clips or simple screws. Many systems release when a small retaining tab is pressed while the tube is lifted gently; others need the tube pushed towards one side so the opposite end can drop free. If the fixing is not obvious, check the manufacturer's installation instructions before applying any pressure.
Step 3: How to remove a chain roller blind?
On chain-operated models, one end of the tube houses the clutch that the chain drives. This control side usually has to be released first, and it is often the tighter of the two. Support the tube, press or slide the release as the bracket design requires, and ease the clutch out rather than levering it. If the chain is still attached to a wall-mounted safety device, unclip that first so nothing is pulled out of alignment.
Step 4: Release the second end and lower the tube
Hold the blind with one hand while freeing the remaining bracket. Lower it rather than letting it drop, as a loaded tube can be heavier than expected, and rest it on a clean, flat surface. Avoid folding delicate fabrics, which can crease permanently.
Step 5: Motorised blinds and electric tracks
Battery and rechargeable motors are straightforward, but hardwired systems should only be disconnected by a qualified professional. Where the blind is linked to home automation, sensors, wall switches or a centralised control system, removing it without disconnecting properly can affect the wider installation.
Removing the Brackets and Checking the Wall
If you are replacing the whole system, take the brackets down too. Most are fixed with screws and wall plugs; use the correct screwdriver or drill bit and keep the fixings together if you plan to reuse them. Then inspect the area for loose plugs, cracks, screw holes, paint damage or signs of moisture. Small holes can be filled before repainting, but significant cracking should be investigated before a new blind goes up, as the fixing surface needs to be structurally sound.
Tips to Avoid Damage During Removal
- Work slowly and never substitute force for understanding.
- Support the tube at all times, with two people for wide blinds.
- Keep screws, clips and brackets in one container.
- Protect the fabric from dust, grit and humidity while it is down.
- Photograph the brackets before releasing them, which makes refitting far easier.
What If the Blind Will Not Release?
Assuming that more force will solve the problem is the most common mistake. Check instead whether a locking tab is still engaged, whether one side is spring-loaded, whether a screw is blocking movement, whether a cassette has a hidden catch, whether fabric has become trapped, or whether the mechanism is under tension. If the release point remains unclear, contacting the original installer is safer than improvising.
Frequently Asked Questions
How do I remove a roller blind?
Raise the fabric fully, identify the bracket type, release the control side, then free the opposite end while supporting the tube and lower it carefully. That sequence is the essence of how to remove a roller blind on almost any system.
Can I remove a roller blind without professional help?
Small, manually operated blinds with accessible brackets are usually manageable. Professional assistance is advisable for large or floor-to-ceiling installations, motorised and hardwired systems, cassette units, very high windows and bespoke architectural fittings, particularly during a wider renovation where walls and glazing need protecting.
Preparing for the New Blind
Removal is also an opportunity to reconsider what the room needs: solar fabrics reduce glare while keeping the view, blackout fabrics suit bedrooms, translucent fabrics balance light and privacy, and decorative fabrics add texture and colour. Consider orientation, whether motorisation would improve daily comfort, and whether the blind should work alongside curtains for a layered finish.
Final Thoughts
Understanding how to remove a roller blind correctly makes maintenance and renovation projects far smoother. Work methodically, identify the fixing before you lift, support the weight and never force a component that does not release naturally.
At Arte del Lusso, window treatments are designed around the character of each property, combining fabric selection, precise measurement and professional installation so that every detail feels considered, comfortable and quietly elegant.